I love how fresh it looks and feel like I can breathe a little better when I'm in the space. Since I'm all about using what I have to redecorate I thought I'd share my process with you.
I knew I wanted to cover the table and conceal all the fab storage that's underneath, but I didn't want it completely covered in fabric. I love the tailored look on these inspiration desks.
{desk of Lonny editor in chief Michelle Adams}
{by Grant K. Gibson}
A smooth work surface and a tailored skirt were my goals. I decided to paint the table top and wing it from there. Isn't that how you approach your DIY projects? :-)
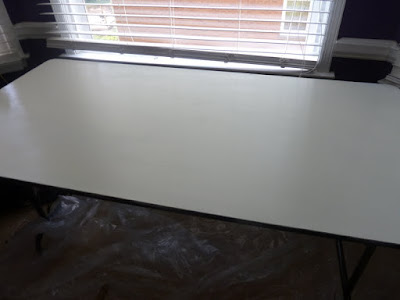
I used two coats of primer, two coats of Porter Paint's Velvet White, and two coats of poly. Perfect.
Now, for the skirt. I already had my fabrics for the office makeover.
I wanted the skirt to use two of these fabrics, the Tres Chic by Waverly and the Cross Section by PKL Studios. The purple velvet is for accent pillows down the road.
I had to play around with different variations, but I eventually decided I wanted the Cross Section to cover the corners and show between the panels of the Tres Chic. The table is 60 inches across and the fabric is 54 inches wide, so I could basically use 2 yards of the Tres Chic to create the wide front panel and the 2 shorter side panels. Since the back of the desk fits into the bay window space and there's also an AC vent there, I decided to leave the back completely open.
I started by cutting my 2 corner panels. I wanted there to be plenty of overlap, so I cut them about 14 inches wide, knowing I would be hemming the edges.
And since I don't sew {really -- I don't sew}, I enlisted a little DIYer's helper in the form of hem tape.
Sorry for the blurry photo! I found this product ridiculously easy to work with and it took less than two rolls to hem all 5 panels for the skirt.
I used another DIYer's helper to attach the corner panels to the table... my hot glue gun.
I burned the stew out my thumb doing this!! I had forgotten how HOT hot glue really is!
Here's the desk with the corner panels attached. See how much storage is underneath? The plastic drawers (Target purchase) hold school and office supplies.
I used a different approach to attach the Tres Chic panels as I wanted to be able to remove them easily if I needed access to underneath. Enter my next DIYer's helper...
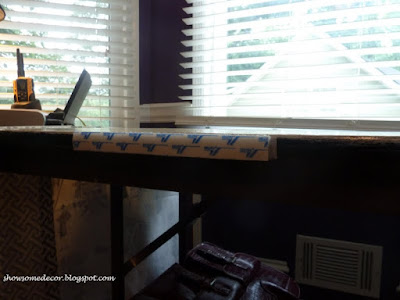
Yep. Velcro strips. :-)
I simply adhered the strips to the edge of the table, pulled the plastic off the sticky back and pressed the edge of the fabric panel against it. And here it is!
And a close up of how the corners overlap...
And here is the finished product again:
I was anxious to get this done, since I was "desk-less" for a spell! Up next in the office is a new lamp (I'll be sharing the shade project with you soon), a revamp of the large dark bookcase, recovering a chair, and I'll be doing some repainting and touch-up to continue the brightening of the space.
So here is the BEFORE of my desk:
SCARY!!
And now the AFTER:
Linking up HERE for Metamorphosis Monday:
What are your DIYer helpers?? What about your latest project?


OOh, thanks for sharing! This tutorial is just what I have been looking for. I want to cover a sidetable in my dining room to make it more of a buffet. I hope you had a terrific 4th.
ReplyDeleteHeidi,
ReplyDeleteI use a door as desk so I can get more space...
Don't forget to add it to our weekly party for our readers to discover.
http://www.passionatelyartistic.com/2011/07/weekly-talent-search-with-linking-party.html
Thanks
Maggie
This is fantastic, Heidi! I love the no sew approach SOO much. It has been too long since I've visited you. Will have to catch up.
ReplyDeleteCamille